We’re going to be a bit more forward with our code organization on this project.
The default Rust package file locations for the binary entrypoint and the library entrypoint are src/main.rs and src/lib.rs respectively. We can and often do have both in the same package.
This lets us build up our game as a series of systems, plugins, and other items in lib.rs and put them together like Jenga pieces in main.rs. It also frees us up to write integration tests against the modules we expose from our library.
Create src/lib.rs and create two public submodules by writing the following two lines in it.
pub mod board;
pub mod colors;
The default locations for these modules, after we’ve defined the sub-modules in lib.rs, are src/board.rs and src/colors.rs, although we could technically put them anywhere. Remember: module paths and file paths are different things and don’t have to match!
Defining Colors
colors.rs is going to be a utility file that we use to keep all of the colors we use for the board and such in the same place.
We’ll create a struct named Colors to hold our colors. Each color has a name, in this case I’ve named them what they’re being used for.
The struct itself and all of the fields inside the struct need to be labelled pub, because items are private by default in Rust’s module system. Using pub will allow us to access these colors from outside of this file.
use bevy::prelude::Color;

pub struct Colors {
    pub board: Color,
    pub tile_placeholder: Color,
    pub tile_placeholder_dark: Color,
}
pub const COLORS: Colors = Colors {
    board: Color::rgb(0.42, 0.63, 0.07),
    tile_placeholder: Color::rgb(0.62, 0.83, 0.27),
    tile_placeholder_dark: Color::rgb(0.57, 0.78, 0.22),
};
We also declare a public constant called COLORS. This is the value that holds an instantiated Colors struct, and where we’ll define the colors we’re going to use.
I’ve chosen various shades of green for the board and the tile positions and you can choose whatever colors you want. The Color enum from bevy contains a wide number of ways to define colors, so feel free to check out the documentation and pick one you like.
Spawning a Board
The board logic is a copy of the technique we used in the 2048 workshop.
In board.rs, bring the bevy prelude and the Itertools trait into scope. We’ll use itertools for building up an iterator of all of the possible tile positions on the board later.
use bevy::prelude::*;
use itertools::Itertools;

use crate::colors::COLORS;

const TILE_SIZE: f32 = 30.0;
const TILE_SPACER: f32 = 0.0;

#[derive(Component)]
struct Board {
    size: u8,
    physical_size: f32,
}

impl Board {
    fn new(size: u8) -> Self {
        let physical_size = f32::from(size) * TILE_SIZE
            + f32::from(size + 1) * TILE_SPACER;
        Board {
            size,
            physical_size,
        }
    }
    fn cell_position_to_physical(&self, pos: u8) -> f32 {
        let offset =
            -self.physical_size / 2.0 + 0.5 * TILE_SIZE;

        offset
            + f32::from(pos) * TILE_SIZE
            + f32::from(pos + 1) * TILE_SPACER
    }
}

pub fn spawn_board(mut commands: Commands) {
    let board = Board::new(20);

    commands
        .spawn_bundle(SpriteBundle {
            sprite: Sprite {
                color: COLORS.board,
                custom_size: Some(Vec2::new(
                    board.physical_size,
                    board.physical_size,
                )),
                ..Sprite::default()
            },
            ..Default::default()
        })
        .insert(board);
}
We can also bring our COLORS into scope, using the crate::colors::COLORS module path. The crate module name is special, it indicates that we’re starting at the root of the crate. In this case, that means starting at lib.rs. From there we can dive into the colors sub-module defined in lib.rs and finally specify the COLORS const, which we declared public for this purpose.
The TILE_SIZE and TILE_SPACE constants will determine how big our tiles render and also how much space there is between them.
Next we define our Board struct. We’ll be inserting this struct as a component on the entity where we render the board sprites, so we need to derive Component.
The size of the board is a u8, which is an integer with a max value of 255. This is the number we’ll use when we talk about tile positions, like (3,4).
physical_size is an internal value on the Board struct although since we’ve defined the Board struct in the same file we’re using it, we’ll also be able to access any of the fields inside of it. physical_size represents how many pixels we should use to render the board on screen.
We implement two functions on the Board type: new and cell_position_to_physical.
The new function takes a grid size and constructs a new Board, while also doing the calculation for how big we should render the board grid on screen.
The cell_position_to_physical function takes an integer grid position and converts it to a position on screen using the TILE_SIZE and TILE_SPACER constants.
Finally we define a new system called spawn_board. whose responsibility it is to create a new Board, spawn an entity for it, and attach a Sprite component so that it renders on screen. We also attach the Board component to the same entity for convenience.
Back over in main.rs, we can bring the spawn_board system into scope and set it up as a startup system in our application.
use snake::board::spawn_board;
use bevy::prelude::*;

fn main() {
    App::new()
        .insert_resource(WindowDescriptor {
            title: "Snake!".to_string(),
            ..Default::default()
        })
        .add_plugins(DefaultPlugins)
        .insert_resource(ClearColor(Color::rgb(
            0.52, 0.73, 0.17,
        )))
        .add_startup_system(setup)
        .add_startup_system(spawn_board)
        .run();
}

fn setup(mut commands: Commands) {
    commands
        .spawn_bundle(OrthographicCameraBundle::new_2d());
}
Notice that the module path we use now is snake::board::spawn_board instead of starting with crate. This is because we’ve crossed the crate boundary! We’re in the binary crate now, which is bringing in the spawn_board system from the library crate.
If you used the same directory name as I did when we set up the project, then snake is the name in Cargo.toml. Our library, by default, will use this name as the name of our library.
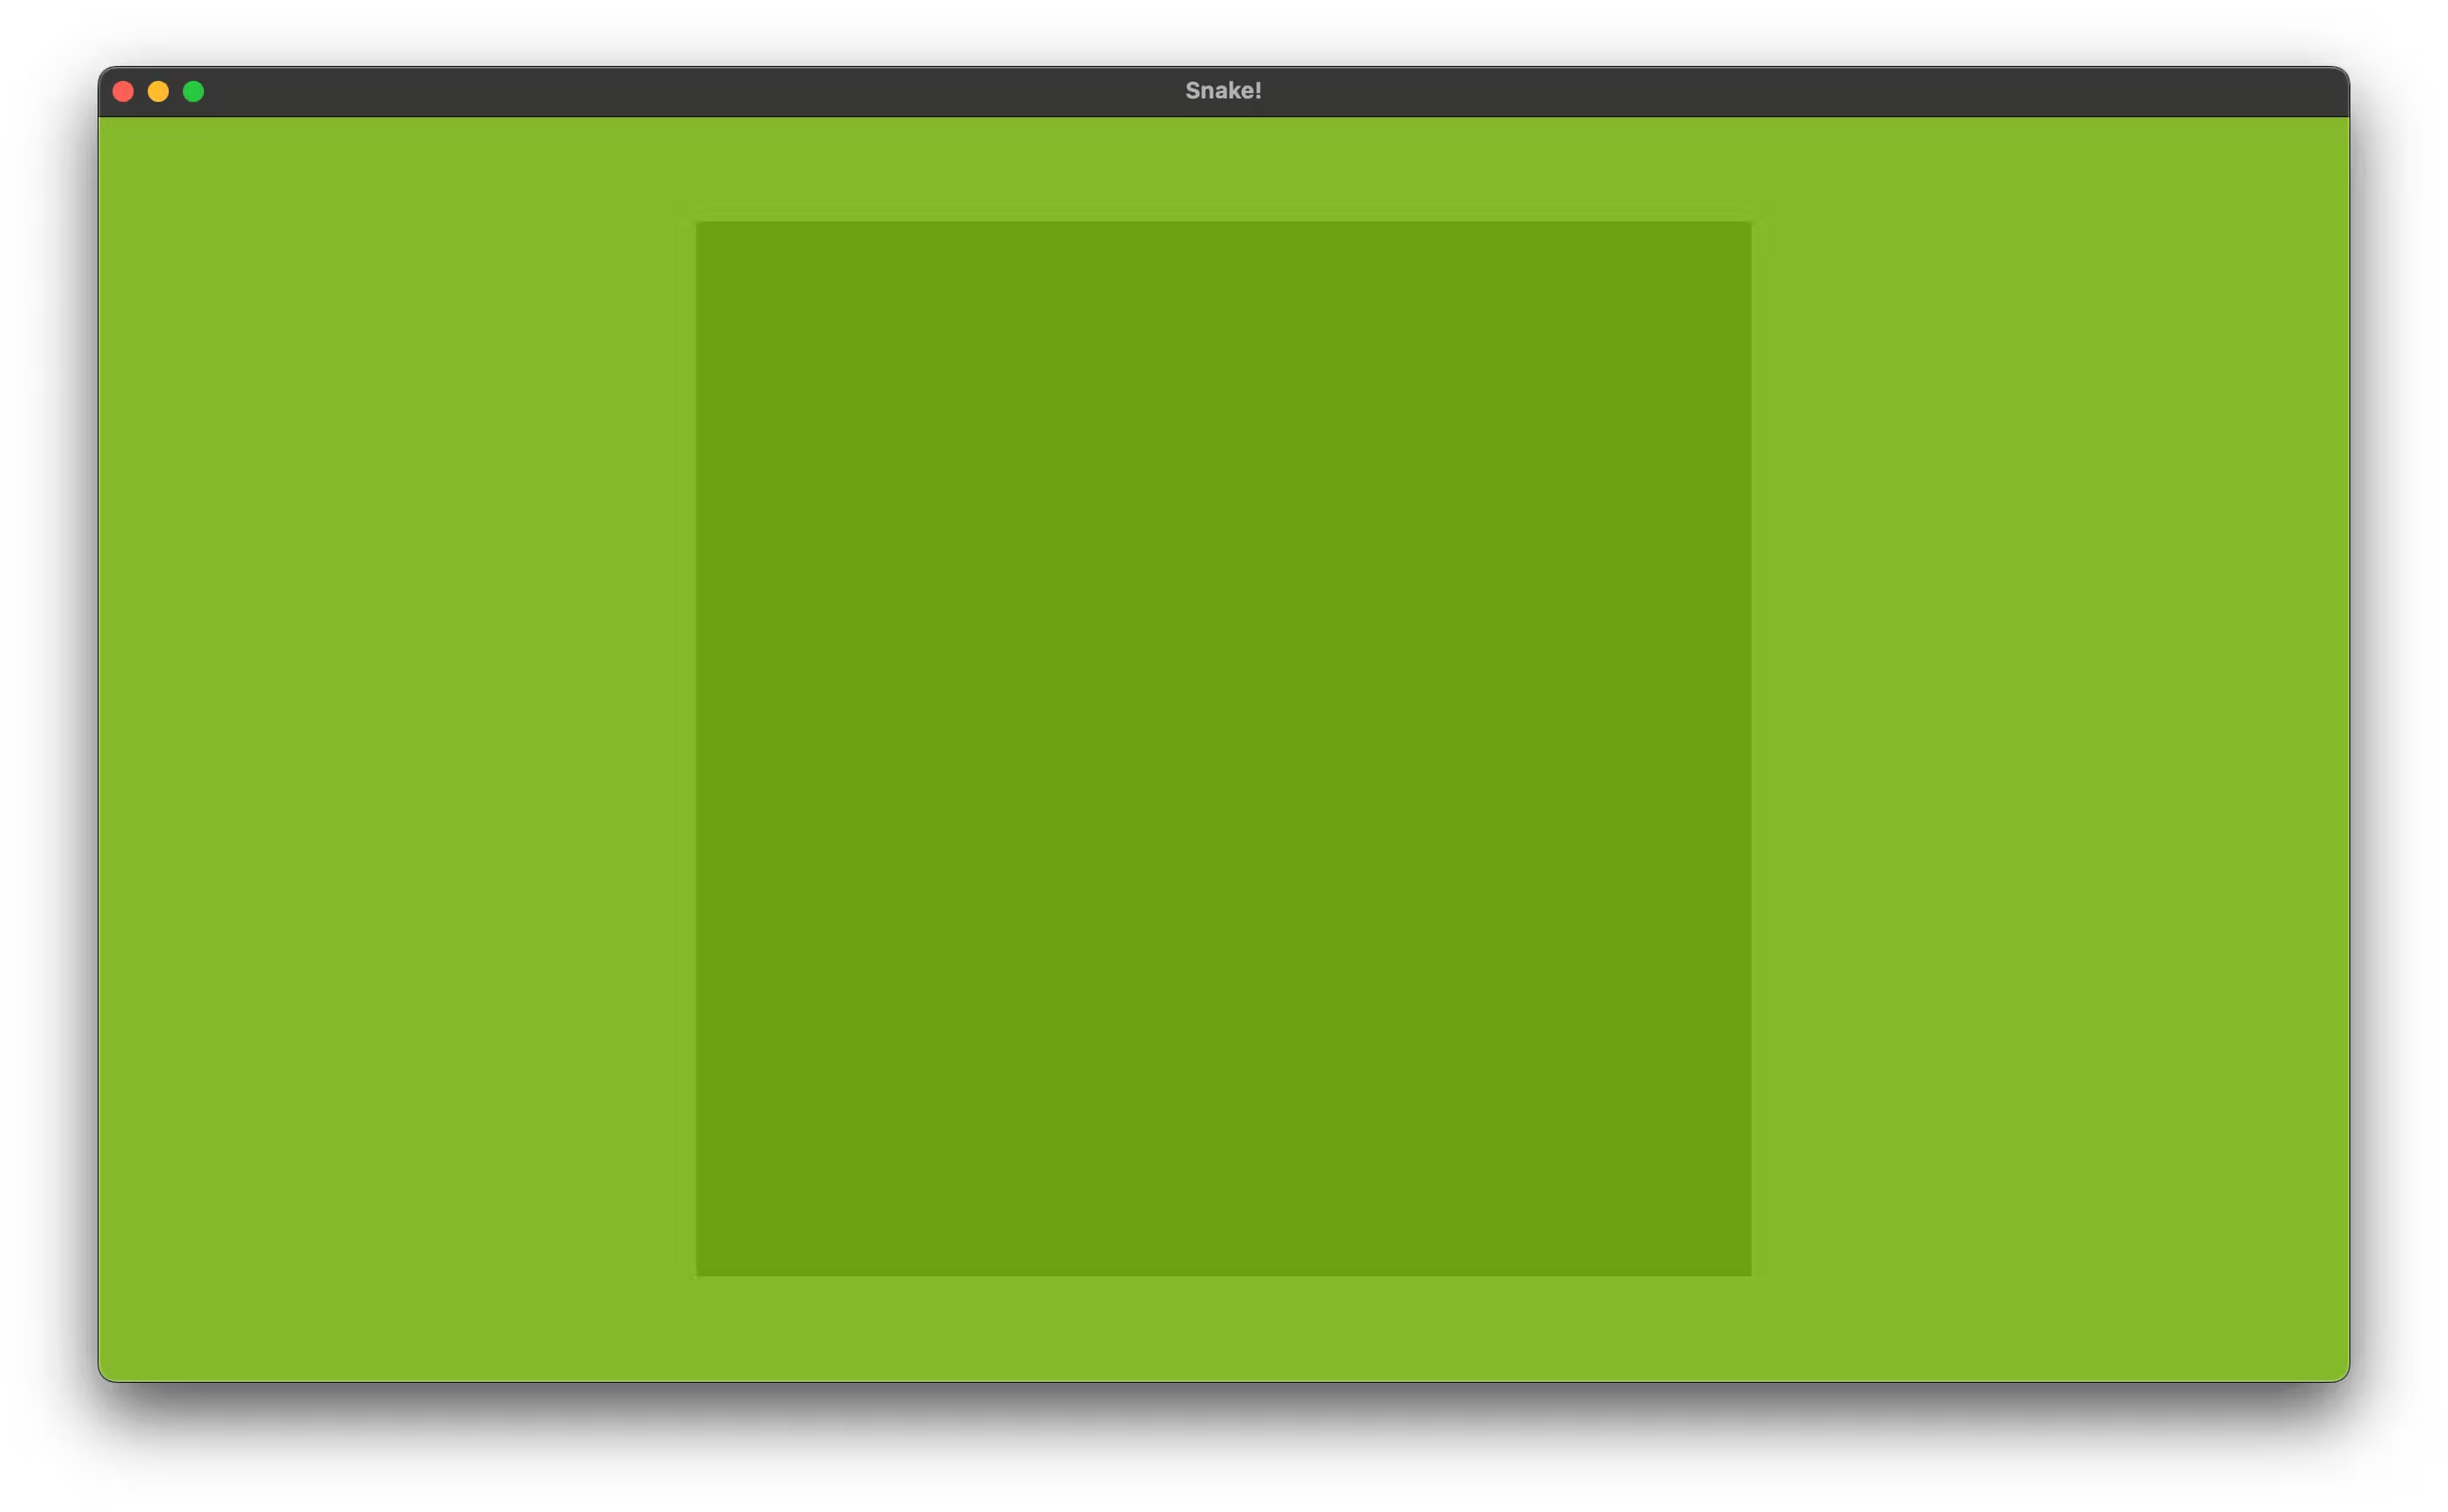
After a cargo run we should see a green box that represents the area our board takes up on screen.

Spawning the board tiles
To spawn the individual tiles on our board we can use the .with_children function on the value returned from our spawn_bundle where we spawned our Sprite.
cartesian_product is a function from the Itertools trait and it’s a fancy name for taking all of the indexes on the x axis of our board grid and combining them with all of the indexes on the y axis of our board grid. It will give us a list of all of the cell positions in the board grid, as an iterator. That is: (0,0), (0,1), (0,2), etc
So we iterate over every tile position and spawn a Sprite at each location.
commands
.spawn_bundle(SpriteBundle {
    sprite: Sprite {
        color: COLORS.board,
        custom_size: Some(Vec2::new(
            board.physical_size,
            board.physical_size,
        )),
        ..Sprite::default()
    },
    ..Default::default()
})
.with_children(|builder| {
    for (x, y) in (0..board.size)
        .cartesian_product(0..board.size)
    {
        builder.spawn_bundle(SpriteBundle {
            sprite: Sprite {
                color: if (x + y) % 2 == 0 {
                    COLORS.tile_placeholder
                } else {
                    COLORS.tile_placeholder_dark
                },
                custom_size: Some(Vec2::new(
                    TILE_SIZE, TILE_SIZE,
                )),
                ..Sprite::default()
            },
            transform: Transform::from_xyz(
                board.cell_position_to_physical(x),
                board.cell_position_to_physical(y),
                1.0,
            ),
            ..Default::default()
        });
    }
})
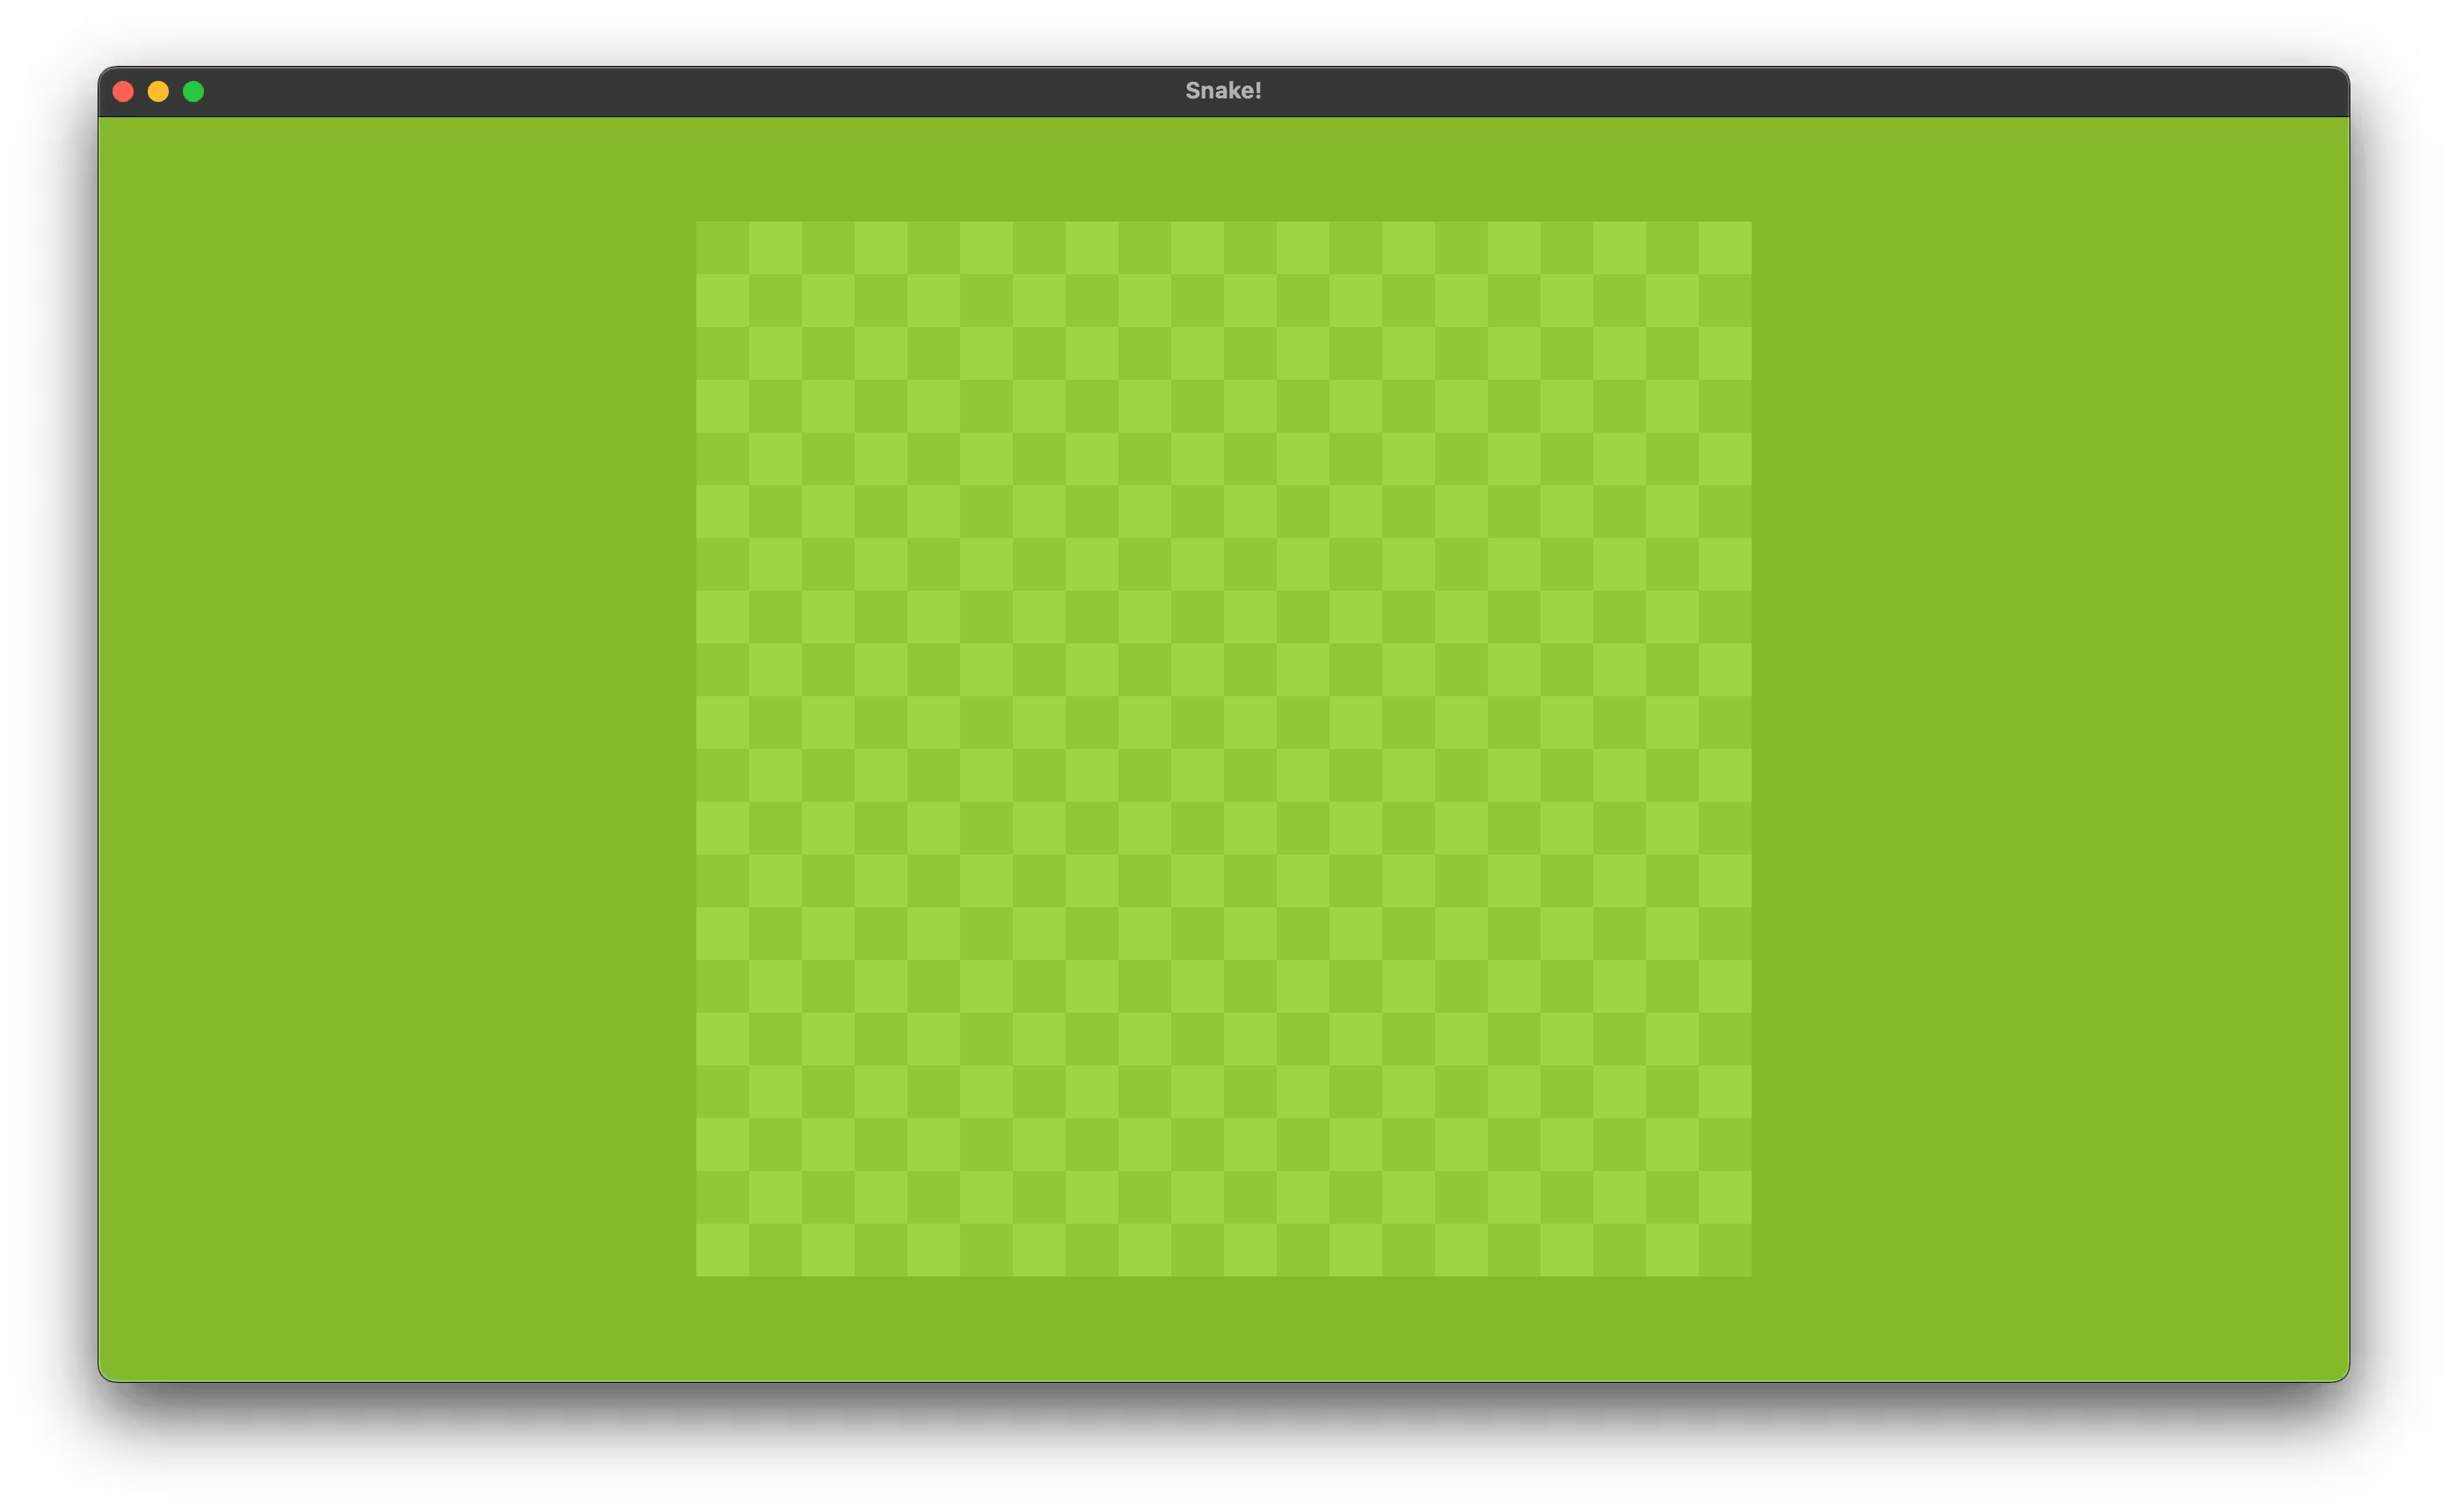
I’ve chosen to alternate tile colors for each Sprite we render. We add the x position and y position together and then check to see if it’s divisible by 2 to determine which color to use.
A cargo run now shows the full tile grid.

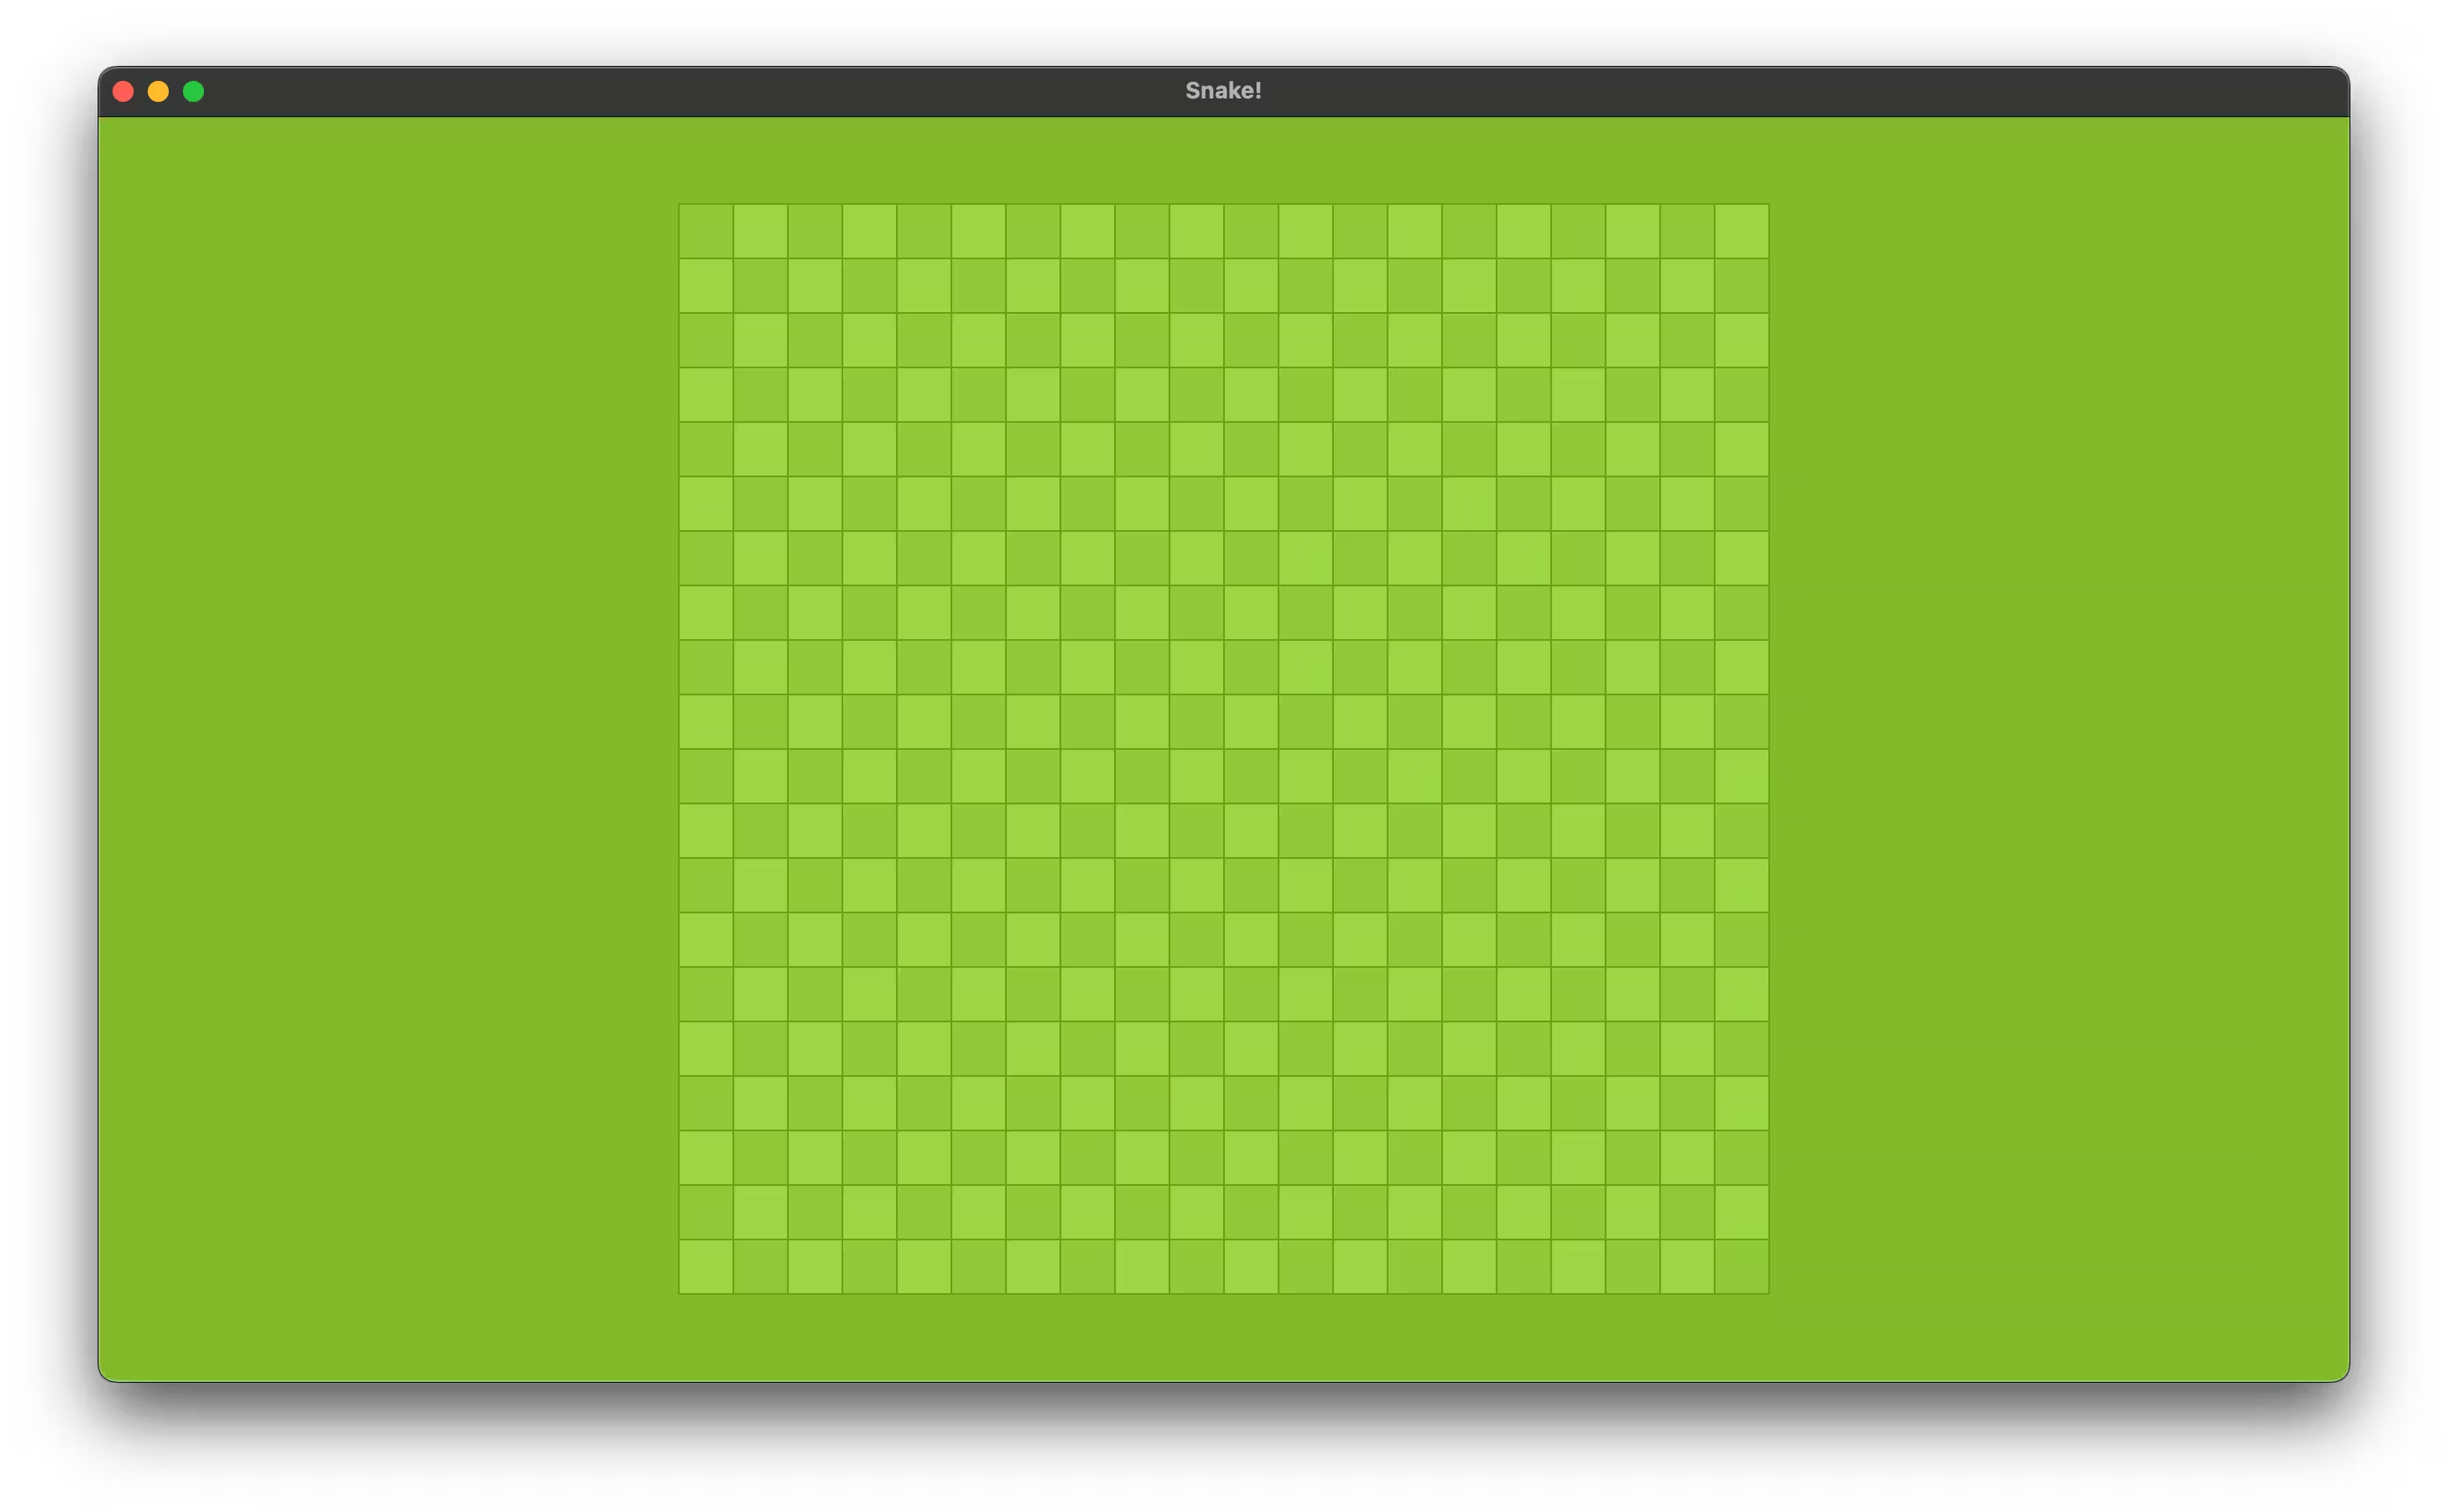
You could choose to add space between the tiles and you’d see the board color behind the tile placements, but I’ll choose to have a tile space of 0.0.
const TILE_SPACER: f32 = 1.0;

