A white board is nice, but we'd like to be able to change what the board looks like, especially as we add tiles on top.
Because its common to use colors in many places in out application, we’ll place our colors in a sub-module called colors.
At the top of src/main.rs, we can define a new module named colors.
mod colors;
Then in src/colors.rs we can create a new const named BOARD to define our board color.
use bevy::prelude::Color;

pub const BOARD: Color = Color::Lcha {
    lightness: 0.06,
    chroma: 0.088,
    hue: 281.0,
    alpha: 1.0,
};
This file is very small, so we only need to bring the Color from the Bevy prelude into scope because that’s all we’re using from Bevy.
We define the BOARD to be a public const of type Color. const means that this value will be evaluated at compile time, and pub means we’ll be able to access BOARD from outside of this module.
Color::Lcha is a struct that defines a color in the Lch color space. You can also use rgb or even hex code as we'll see in the next lesson.
Lch is a perceptually uniform color space, which means that the the L or lightness value matches what you would expect to see with a human eye across different hues.
- Lightness is the amount of black or white in a color
- chroma is the intensity of the color
- hue is what you normally think of as “color”
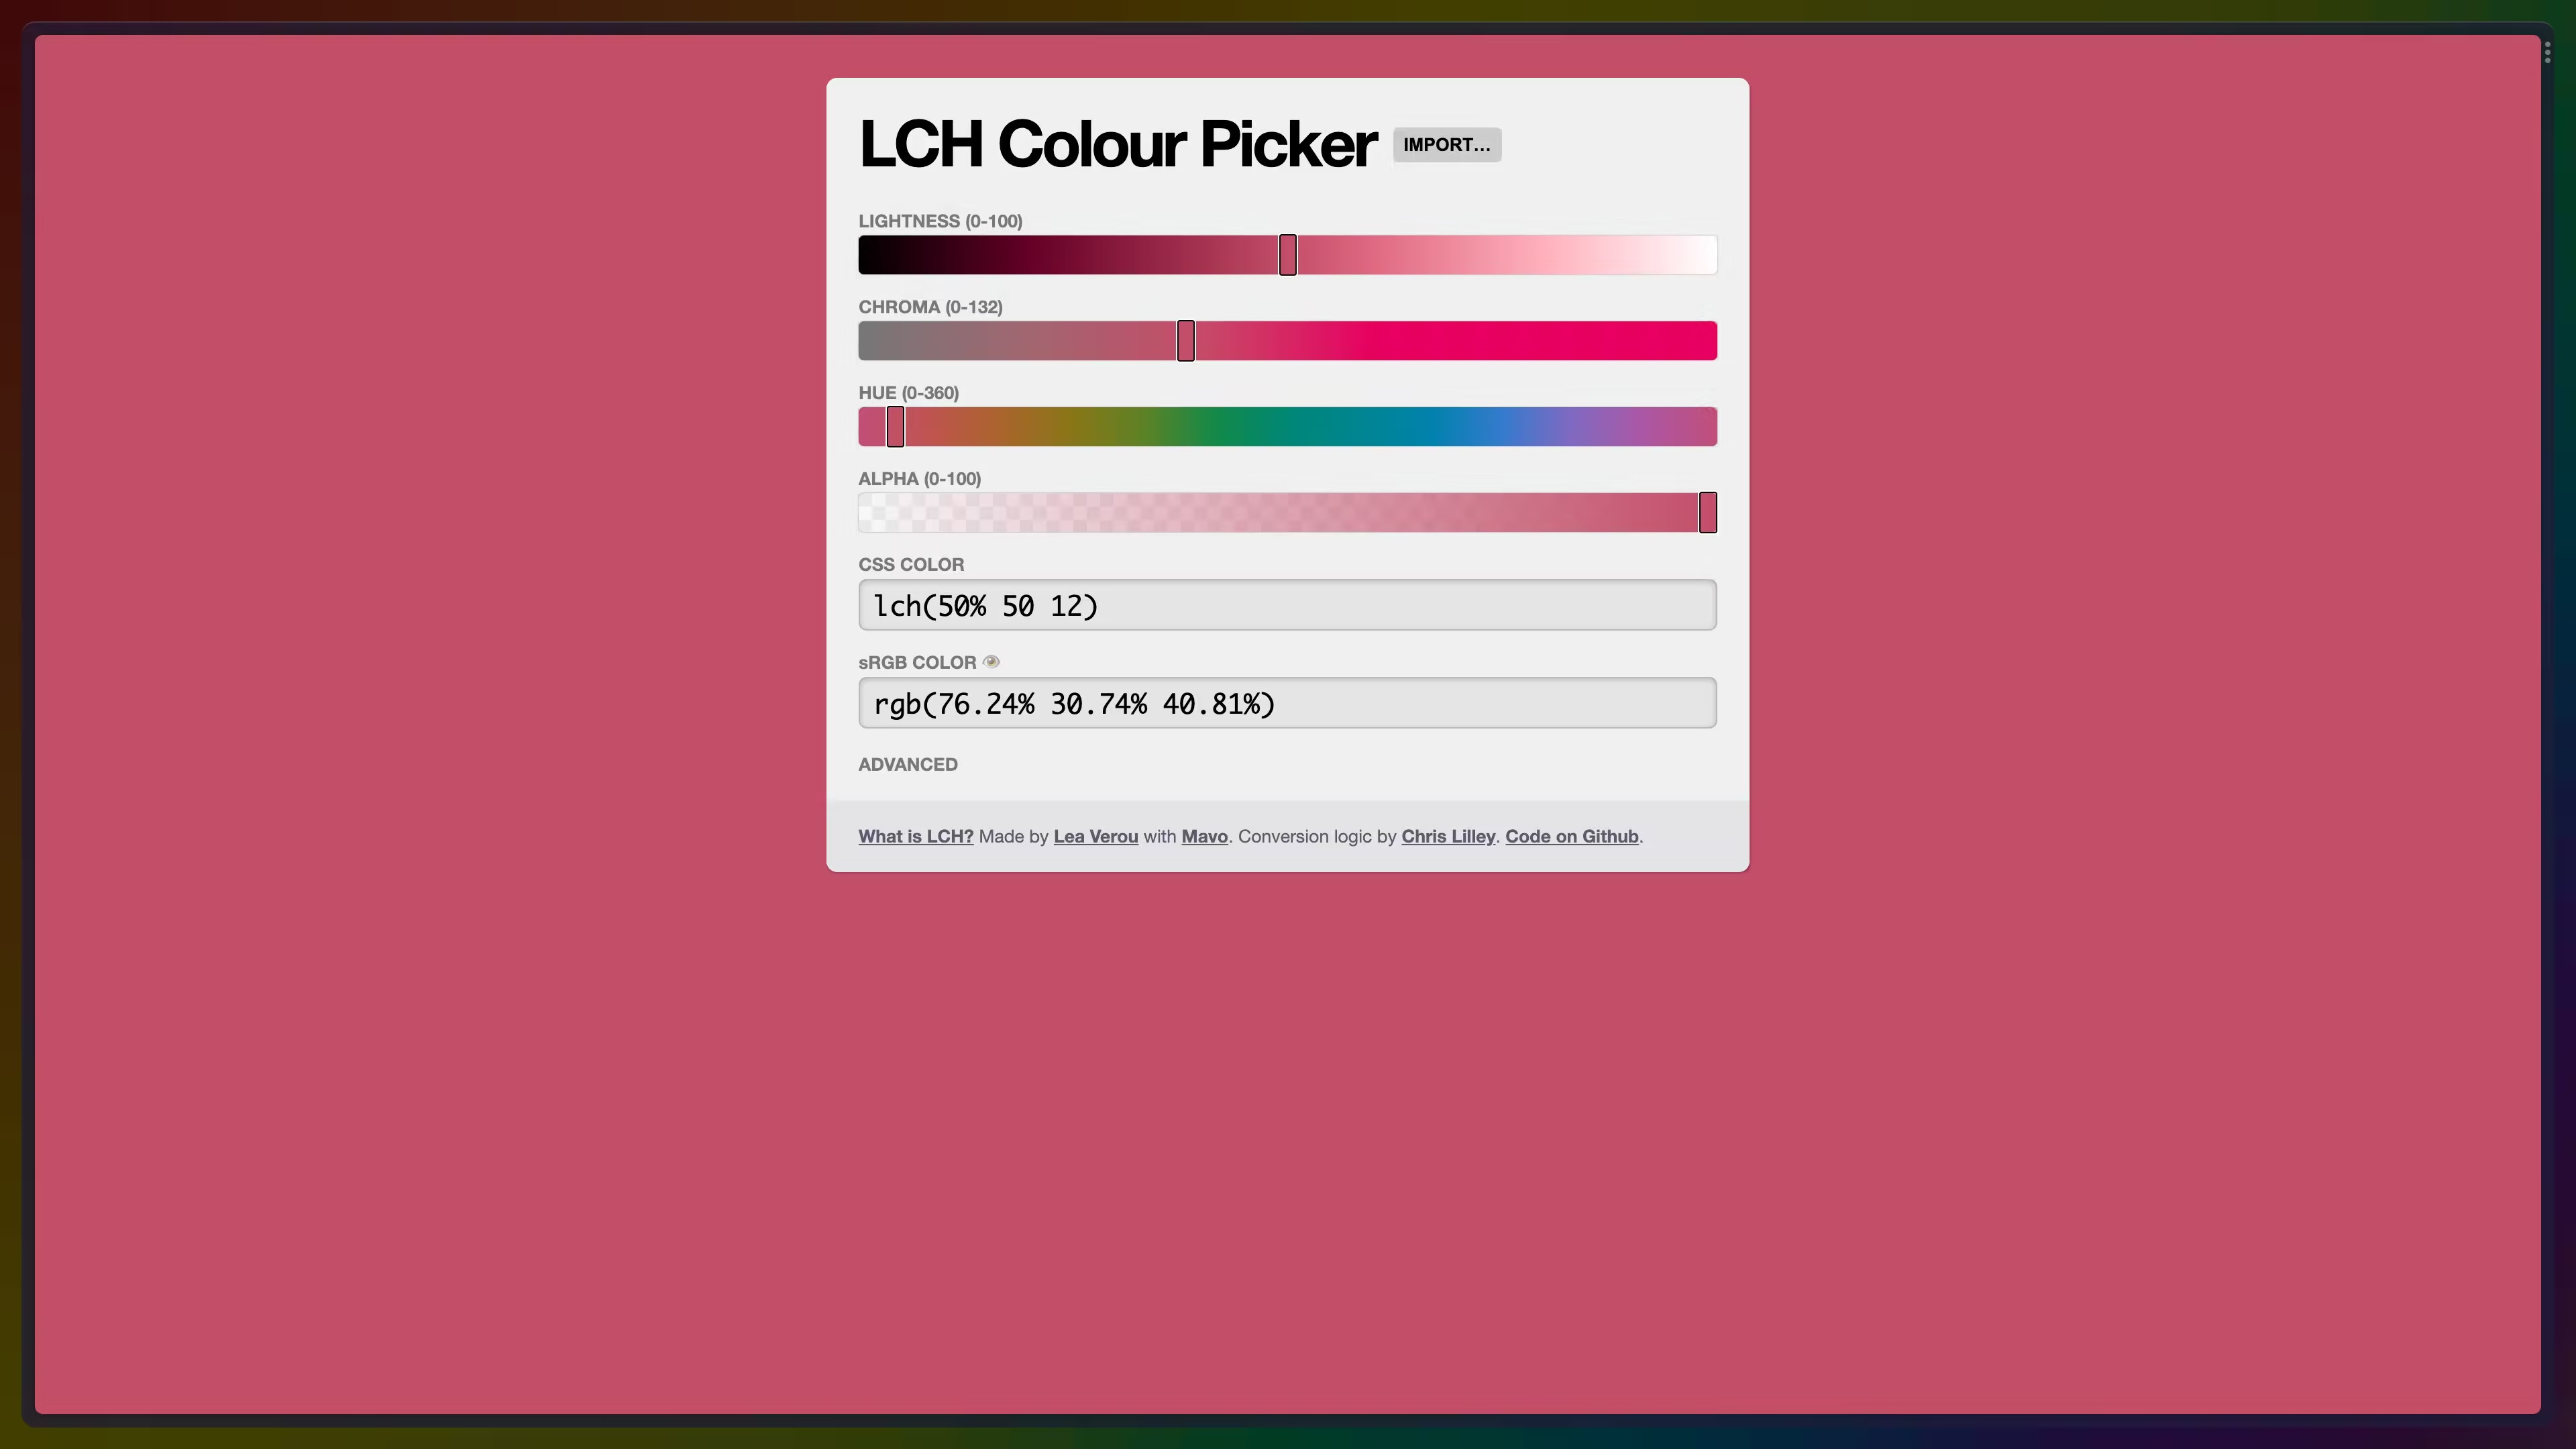
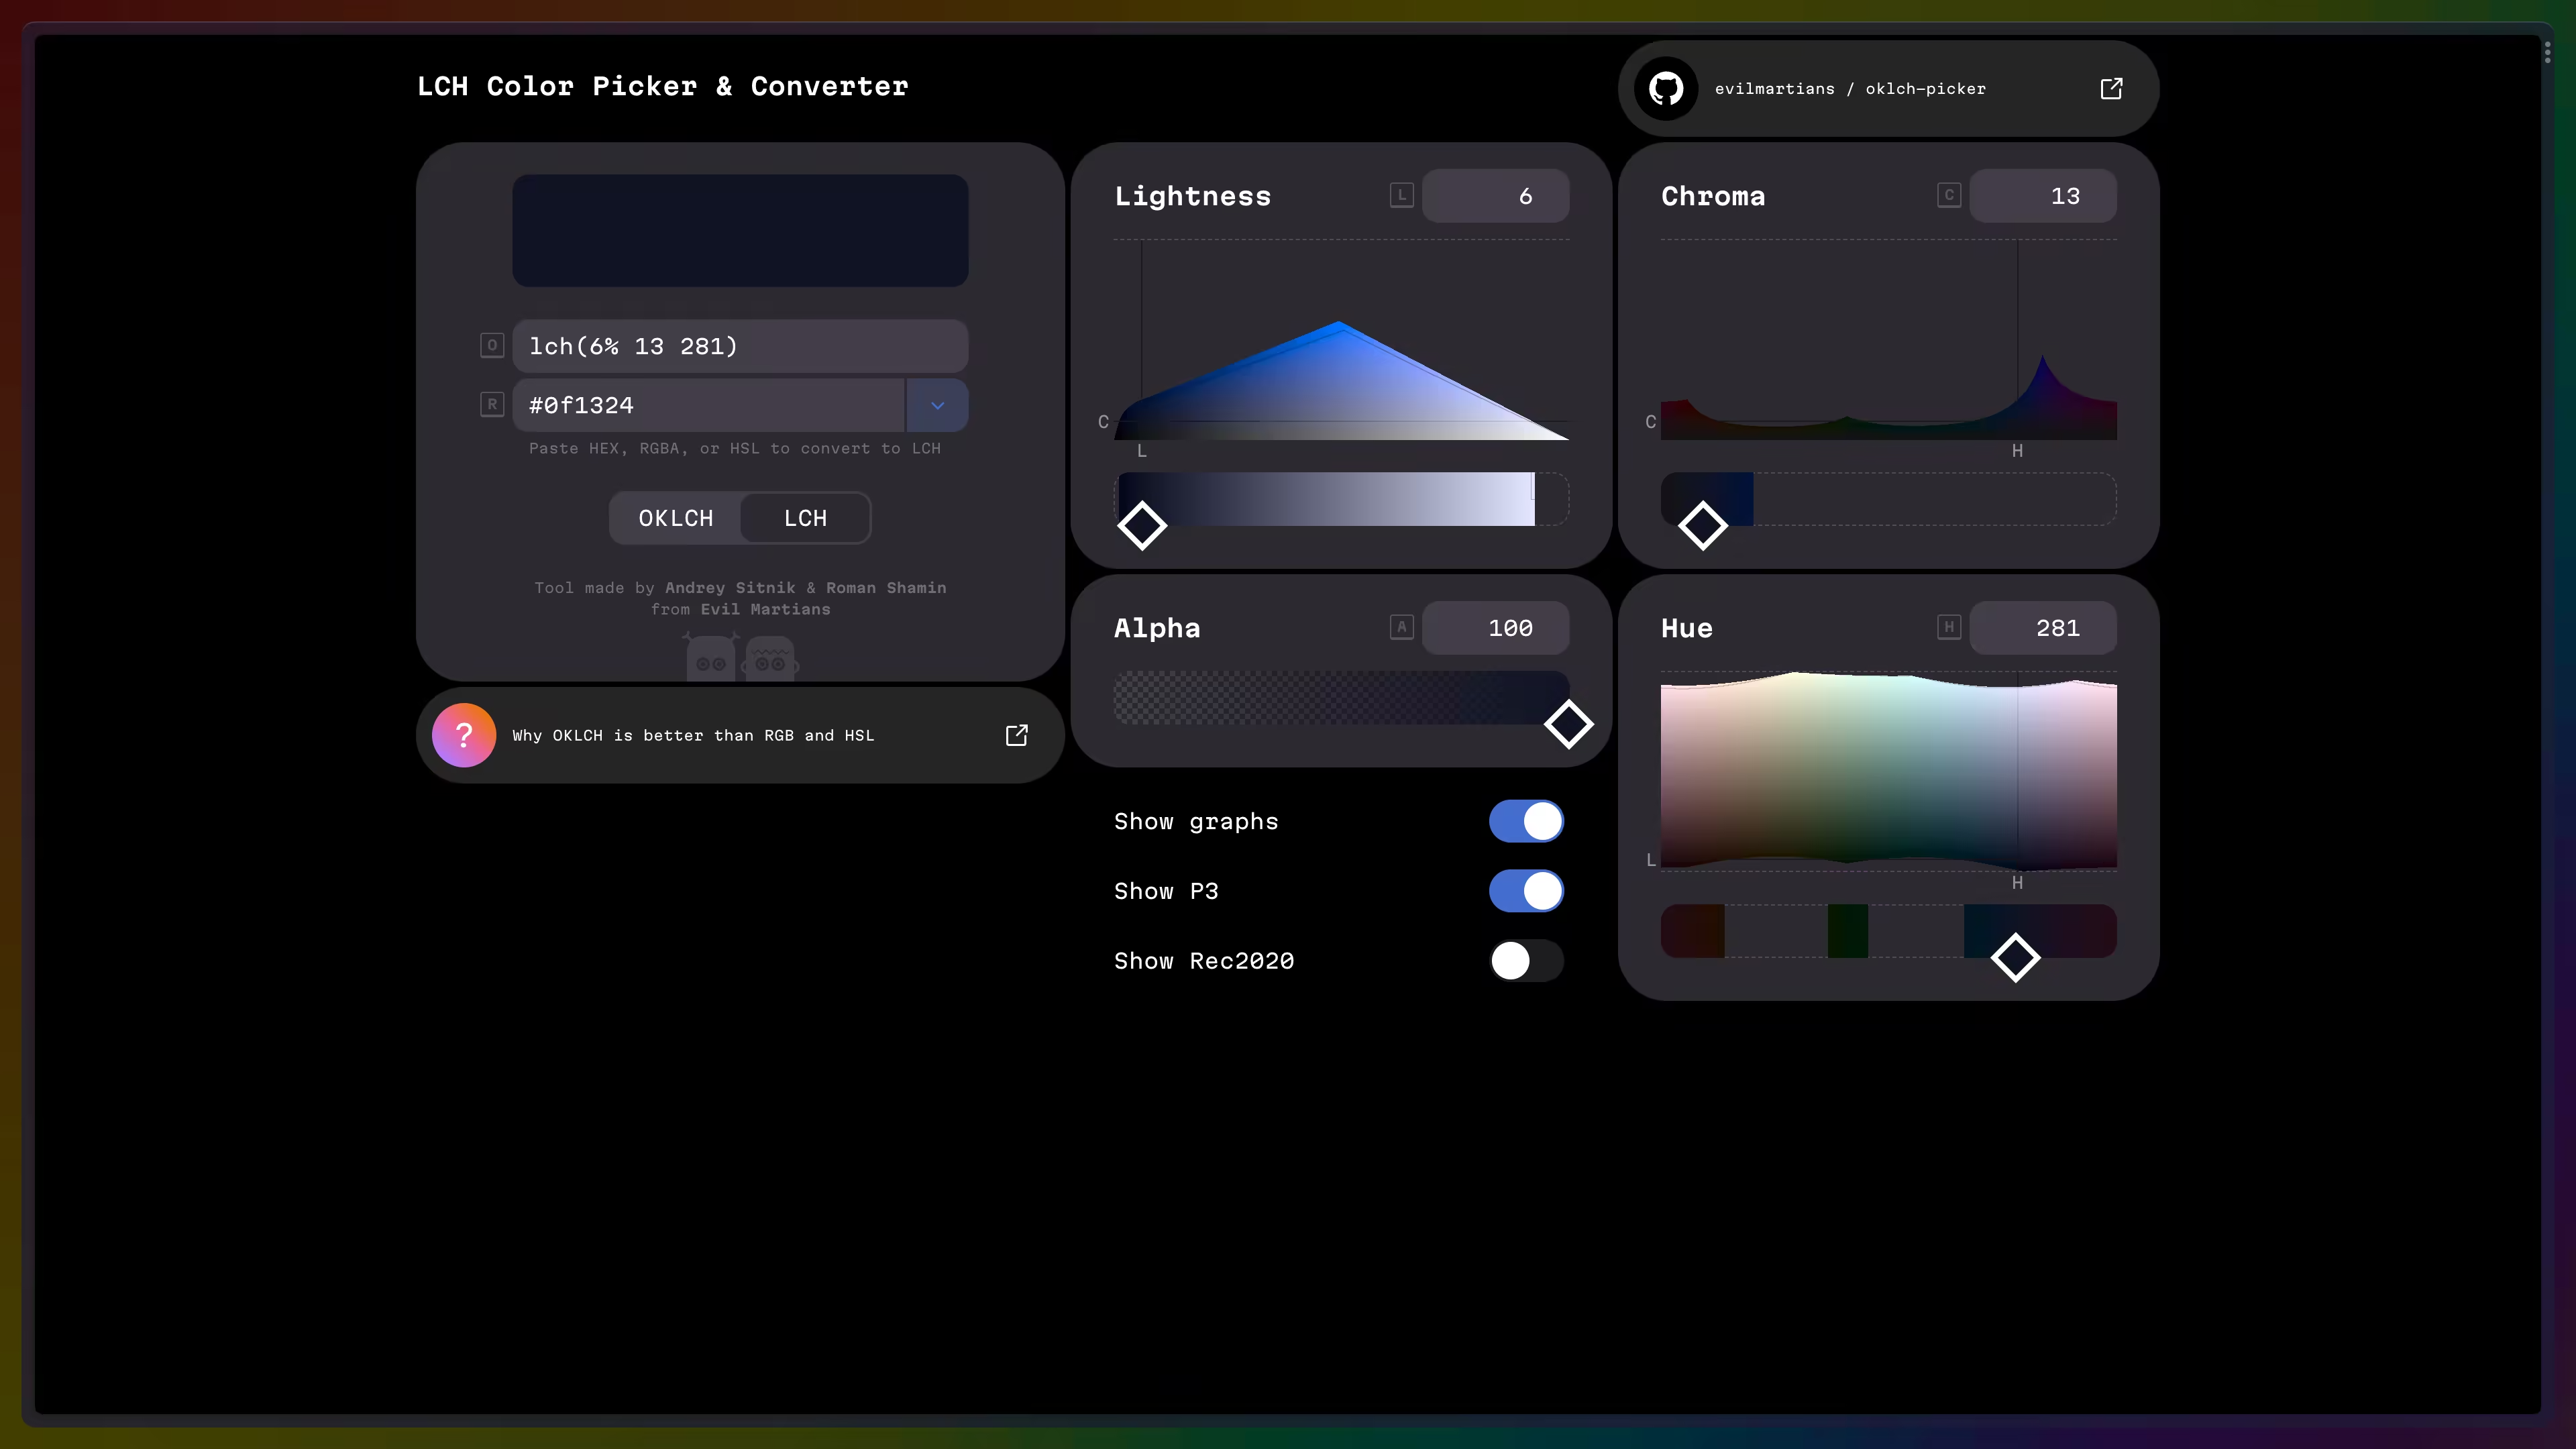
You can explore the Lch color space using a number of color pickers on the internet:


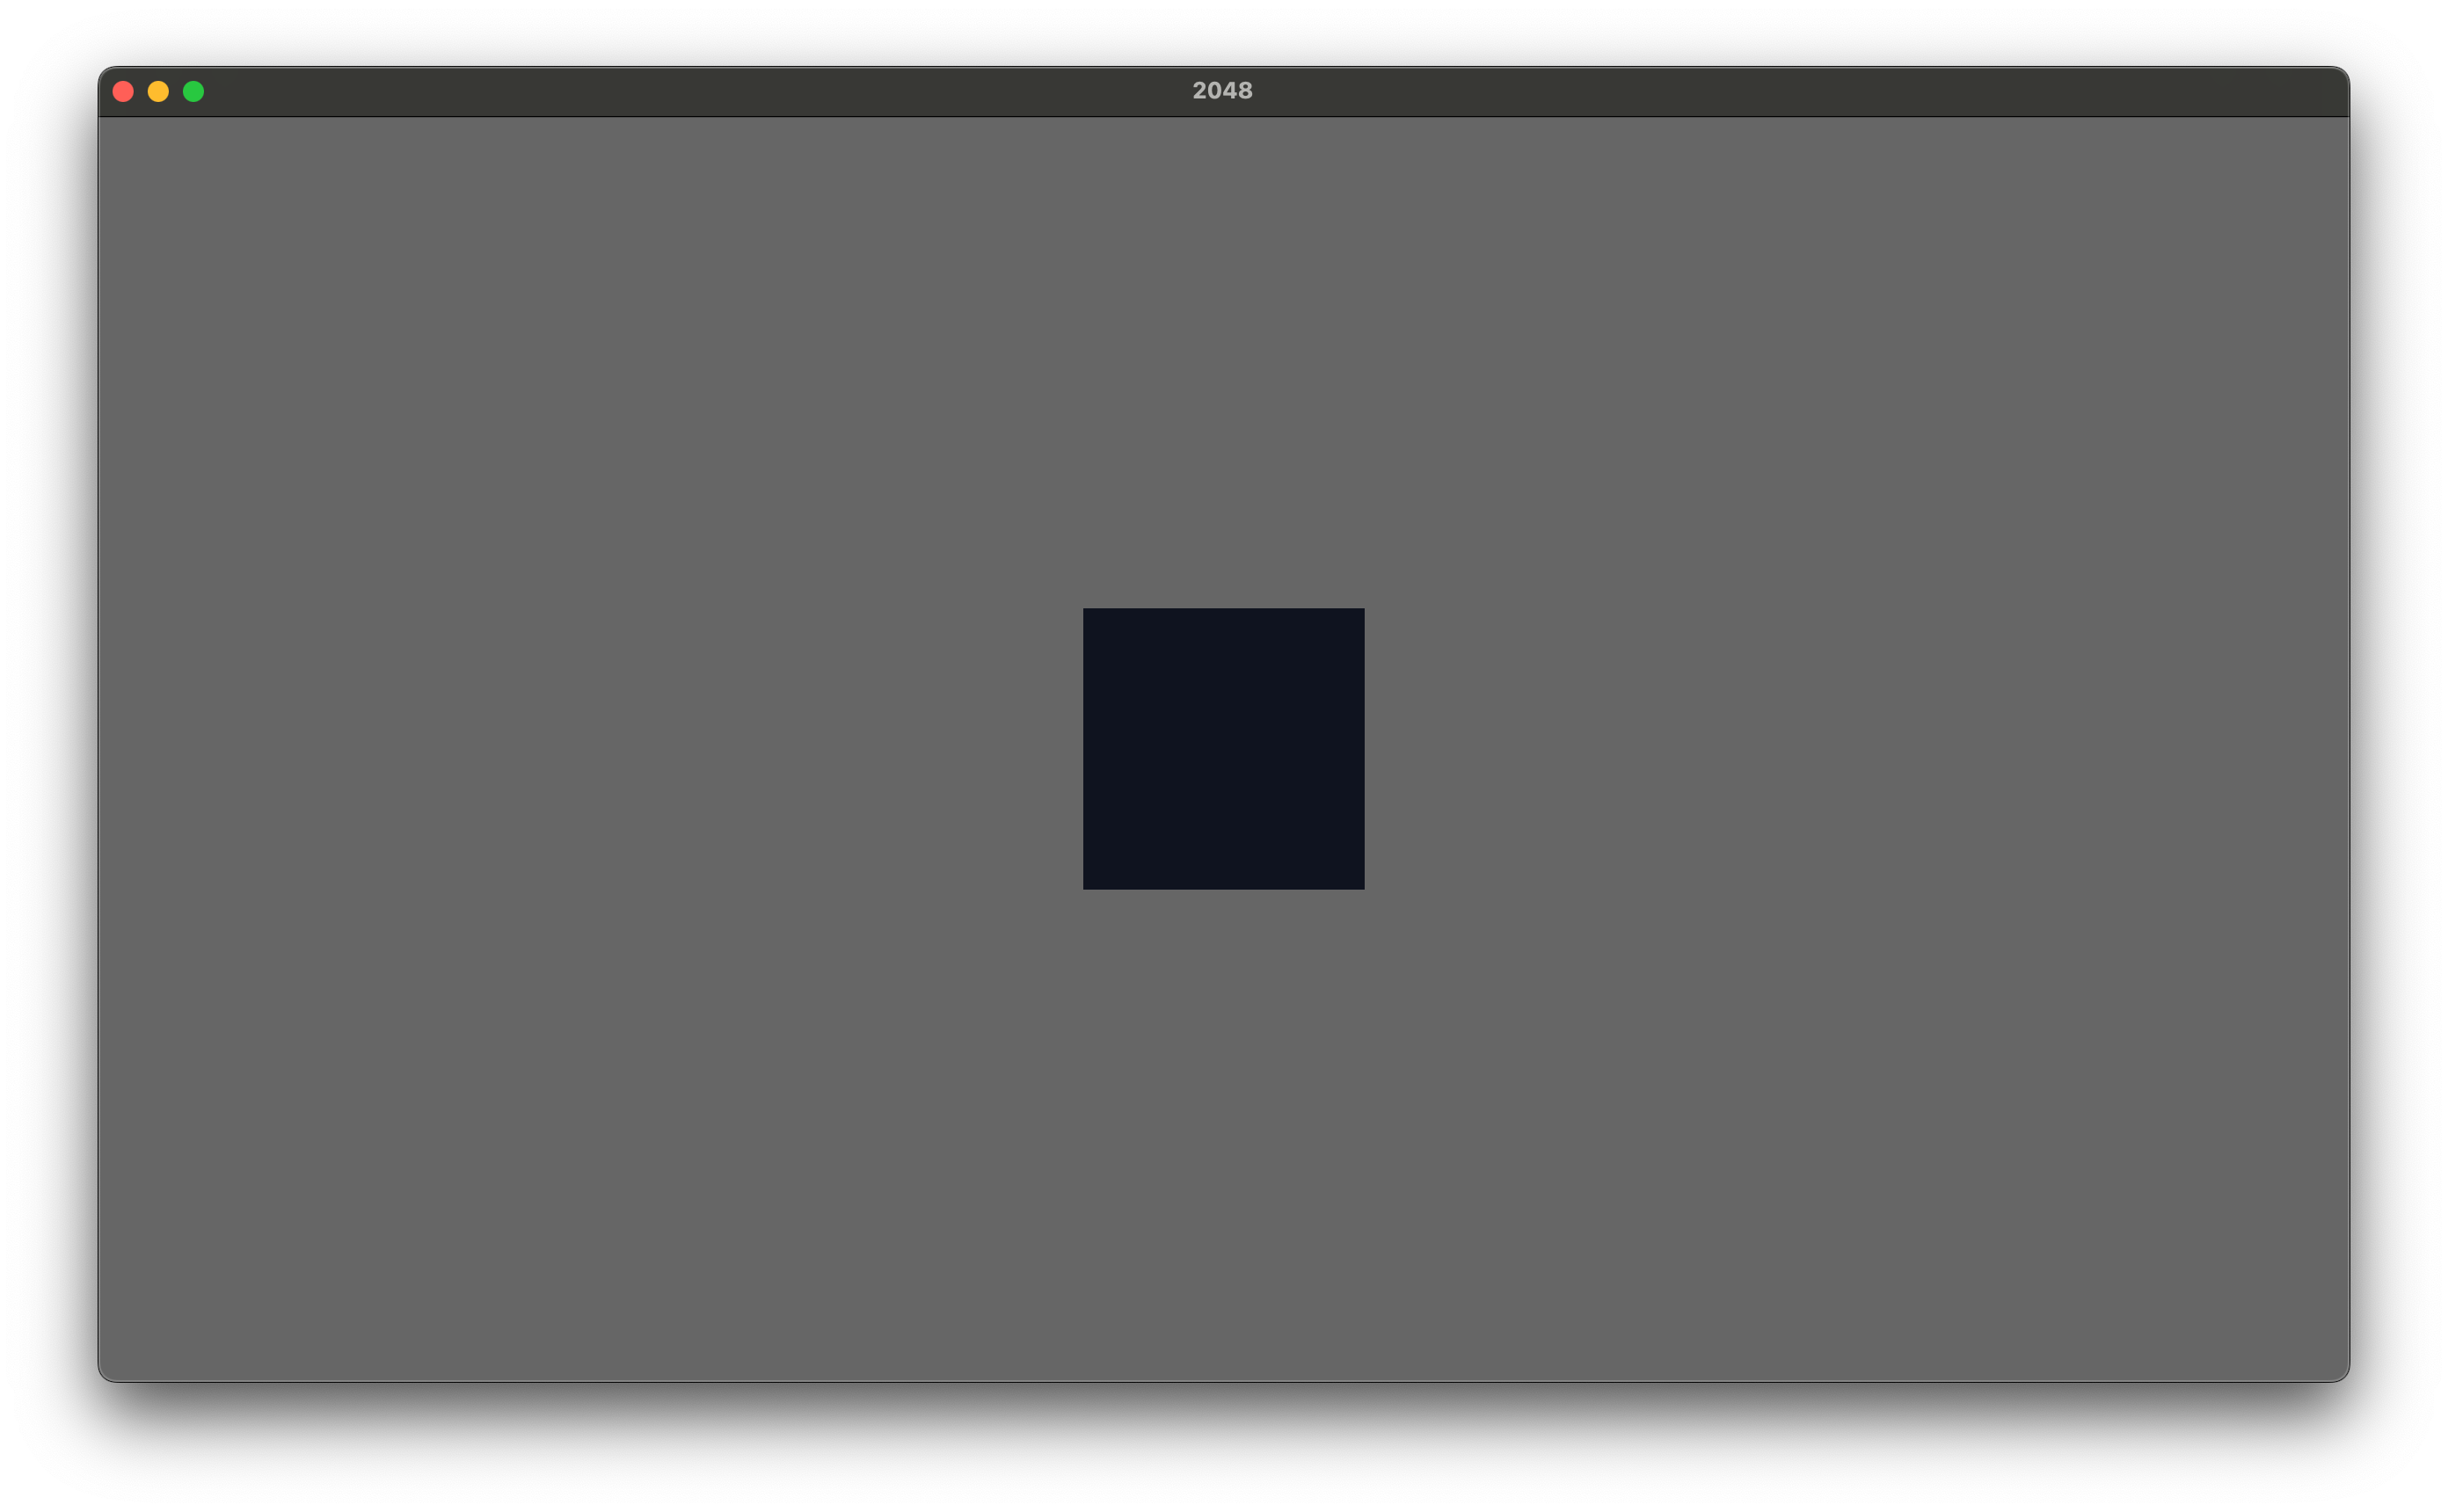
Since we’ve defined colors as a module we can access the items inside of it using a module path: colors::BOARD. Our Sprite code now looks like this, and produces a dark purplish color (or whatever color you chose).
Sprite {
    color: colors::BOARD,
    custom_size: Some(Vec2::new(
        physical_board_size,
        physical_board_size,
    )),
    ..default()
}

